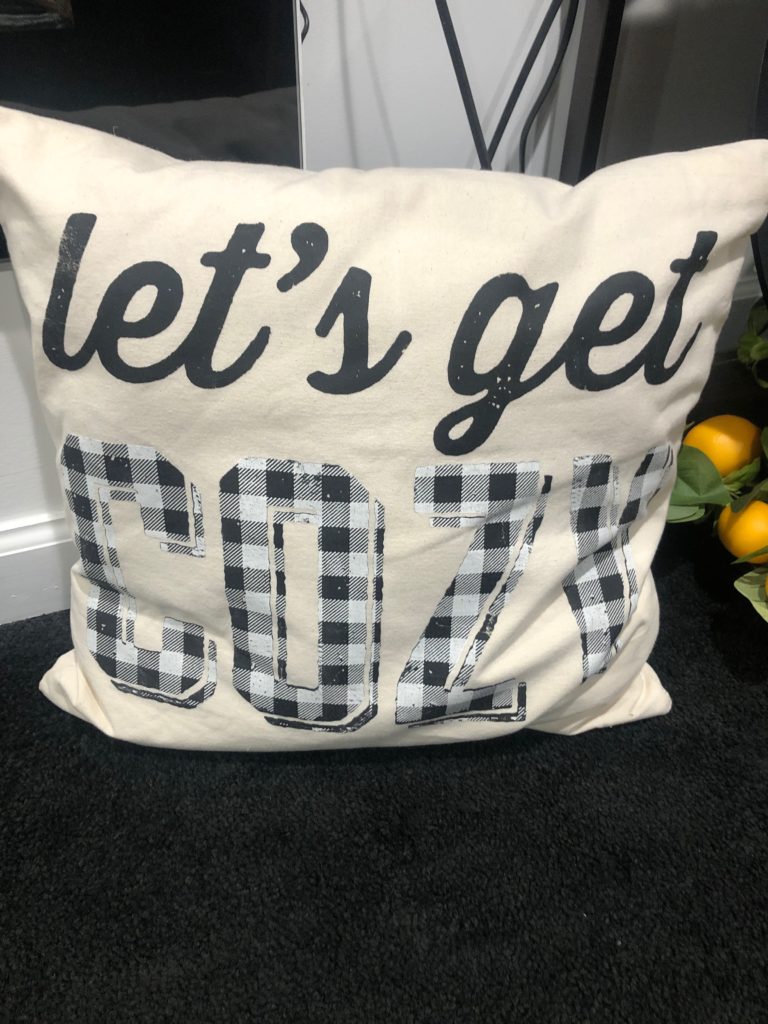
So once in a while I get in a think outside the box mood; like coming up with a new technique to make something super unique. The A-HA moment is such a rush. So I was looking at the Let’s Get Cozy transfer the other day and, keeping in mind my buffalo plaid obsession, wondering to myself how can I make this transfer more fun. Well Buffalo Plaid All The Things, of course! But, instead of plaiding the background, what if I made the word “Cozy” plaid? Can I do that? ? Solid pattern layering? Guess what…I sure did!
I decided to chalk on the Chalk Couture square pillow cover and make the plaid black and white. i encourage you to watch my video for it all to make the most sense, but here are some tips for applying pattern over solid.
Do the solid color first. Why? so you can see what you’re doing with the pattern when you place it over the solid, mainly. The solid is typically the darkest color in the case of plaid.
Clean the transfer between colors. Seems like a no brainer, but it bears repeating. Specifically I run mine under water first and get the paste off. Then, I use a disinfecting wipe on both sides to give it a good cleaning. And finally, make sure the transfer is nice and dry.
The order of things. To accomplish this layering thing, I first use the transfer to do the solid color, then clean it. Next, I make sure the solid color I just chalked is dry on my surface. I usually help this along with my embossing gun. Then I get my pattern transfer and lay that down. Then, and this is the tricky part, I lay the other solid part transfer OVER TOP of the pattern transfer. Carefully line it up so that it lines up with your solid that you’re patterning. (Again, watching the video makes this clearer) This is the most hairy part of the project. Lining everything up is important for a number of reasons but mostly so this overlay makes sense and only goes over the solid so its not a sloppy mess.
I chalked the Let’s Get Cozy and Mini Buffalo Plaid transfers on the square pillow cover with black velvet and bright white Chalk Couture chalk paste. I am also using the Self Healing Mat, 17×17 Ink Mat, Transfer Trimmers, Fine Mist Sprayer, Stir Sticks, and Small Squeegee. I think it turned out really well, don’t you? Now that’s some solid pattern layering.
Check out the video below to see how I made this project and to fully understand the solid pattern layering process.
Stay safe and chalk on!
