

Every once in a while, it doesn’t hurt to have a refresher on exactly how to do a particular thing. I’m constantly looking at TIkTok and Pinterest for updates on how people are doing certain things. I so often find great new tips and tricks that help things go easier with beauty and efficiency. And it helps to see it from another perspective to get all the ins and outs. (I think it helps reduce brain farts with technique too)Today, I’m going to show you step by step chalking on wood.
Step By Step Chalking On Wood
Table of Contents
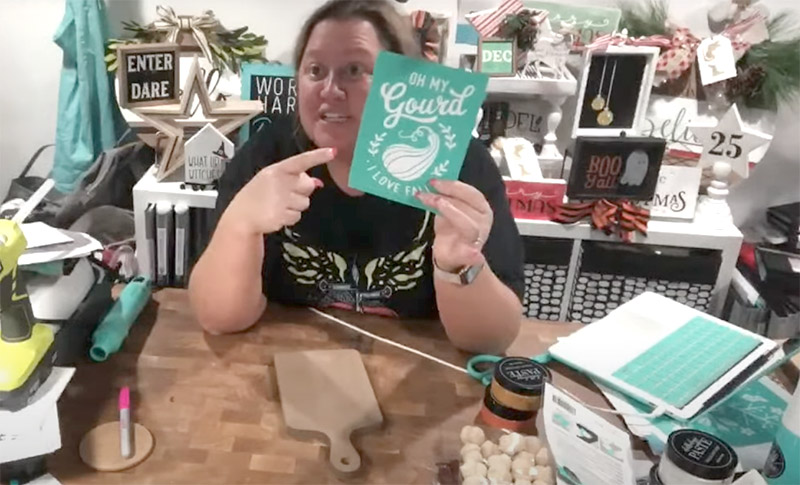
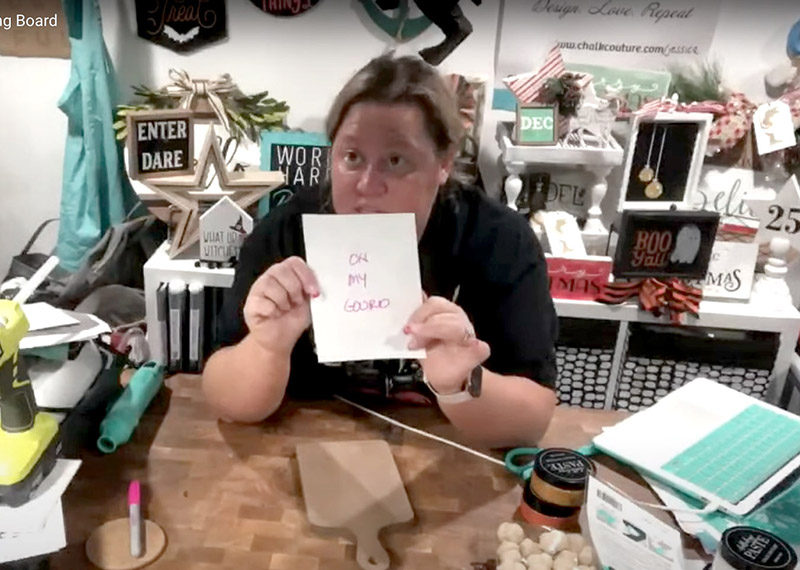
Start With Chalk Couture Transfers
So you might know how to use vinyl to make your own wooden signs. If you do, you all know what a pain in the arse it can be. Printing and weeding and remembering when to mirror your image. And weeding. Did I mention weeding? Ugh… weeding. I need a microscope to see that piece? Hey, where did my middle of the O go? Oh here it is, IN MY HAIR! Argh, it didn’t cut all the way. Curse you, dull cutter blade! Damn you transfer tape! Let go of my letters!! Well, I’m here to tell you, all those troubles go away with Chalk Couture transfers.

About the Transfers
What is a Chalk Couture transfer, Jess? Welp, it’s an adhesive backed reusable transfer. They are similar to stencils, but they do have a silk screen mesh in the center of them so that way, unlike a stencil, where you put it down and it can bleed all over, A Chalk Couture transfer is perfection every single time.
These transfers are reusable over and over again- eight to twelve times depending on how well you take care of them. Heck, I have some that i’m still using way beyond 12 times. The transfers come on a carrier sheet. One side is glossy and the other is just paper. I write the name of the transfer on the back because once i’m done using this transfer i’m gonna take it to my sink give it a good wash with my board eraser. Then, I’ll leave it sticky side up and allow it to dry. Once it’s dry i’ll place it back onto the carrier sheet, sticky side on the glossy part. This keeps it protected from sticking to things it shouldn’t stick to.
Picking and Preparing Surfaces
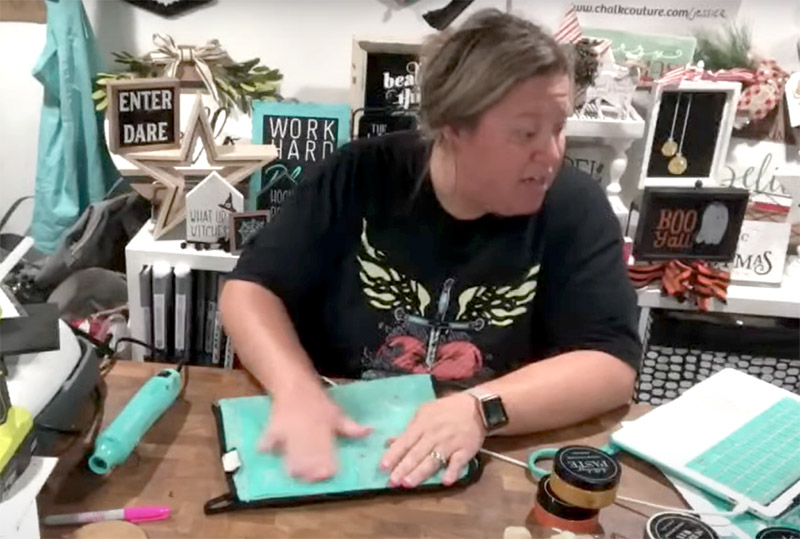
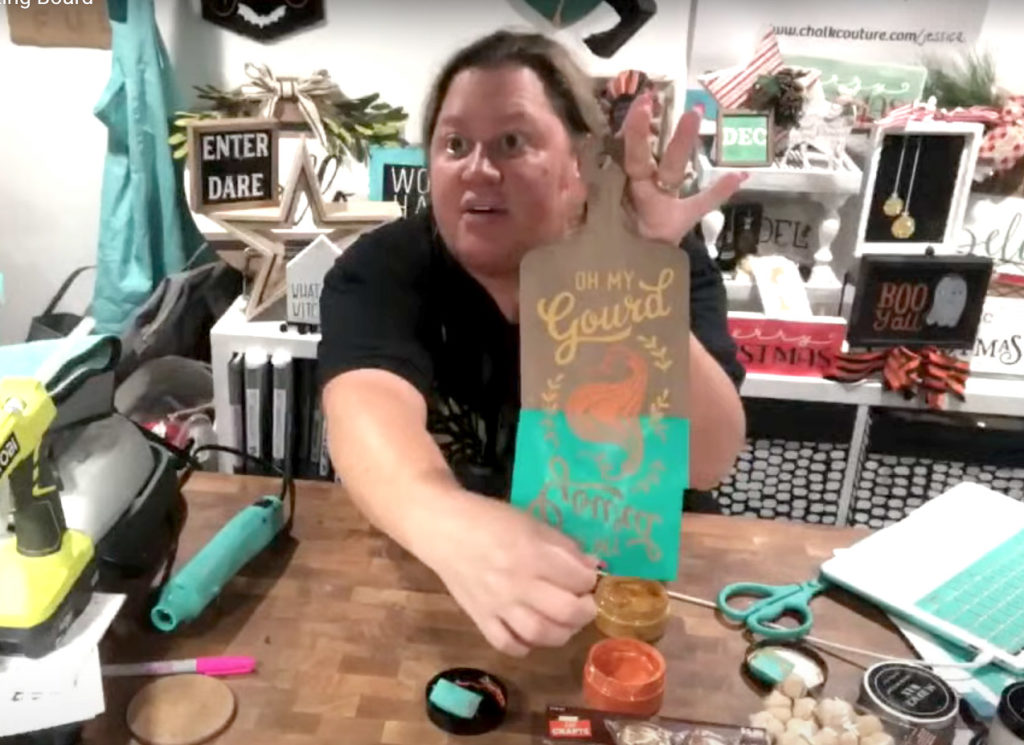
One of the beauties of Chalk Couture products is you can use them on just about anything. Make custom apparel, decor, and more. In this instance, I am going to chalk on a decorative wood cutting board. With wood, it’s best to wax the surface before chalking. Why? For one, It helps with any uneven areas on the surface. The wax will help fill it in it’ll help save my transfer should there be any rough areas. Another reason is if i do make a mistake, I might actually stand a chance of getting the chalk paste off of the surface.
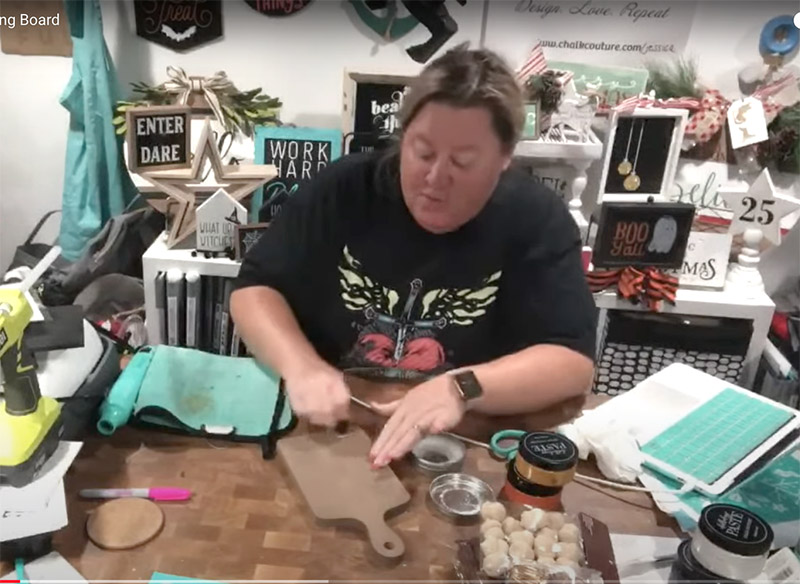
I apply just a little bit of wax using a sponge dauber. You can use a paper towel if you want. Then, I use my quick dry tool and i’m going to heat my wax up because it’ll help melt it a little bit and make it a little bit more manageable and then i can buff it into my wood surface.
Apply the Transfer to the surface
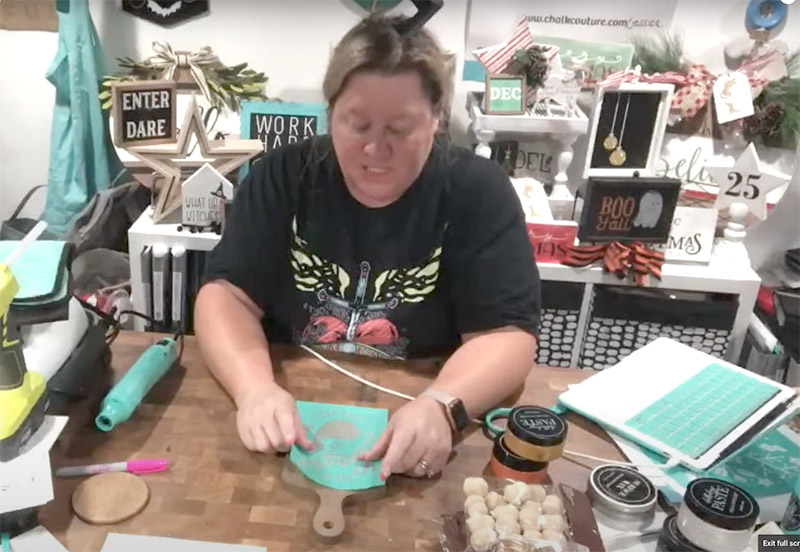
The first step to using Chalk Couture’s transfers is to reduce the sticky a little to ensure it will come off the surface. This is called Fuzzing the transfer. I have a special fuzzing towel that I use. One side is microfiber for wiping things off and the other is terry cloth and that is what we use for this. Lay your transfer sticky side down on the terry cloth side and rub it on the towel.
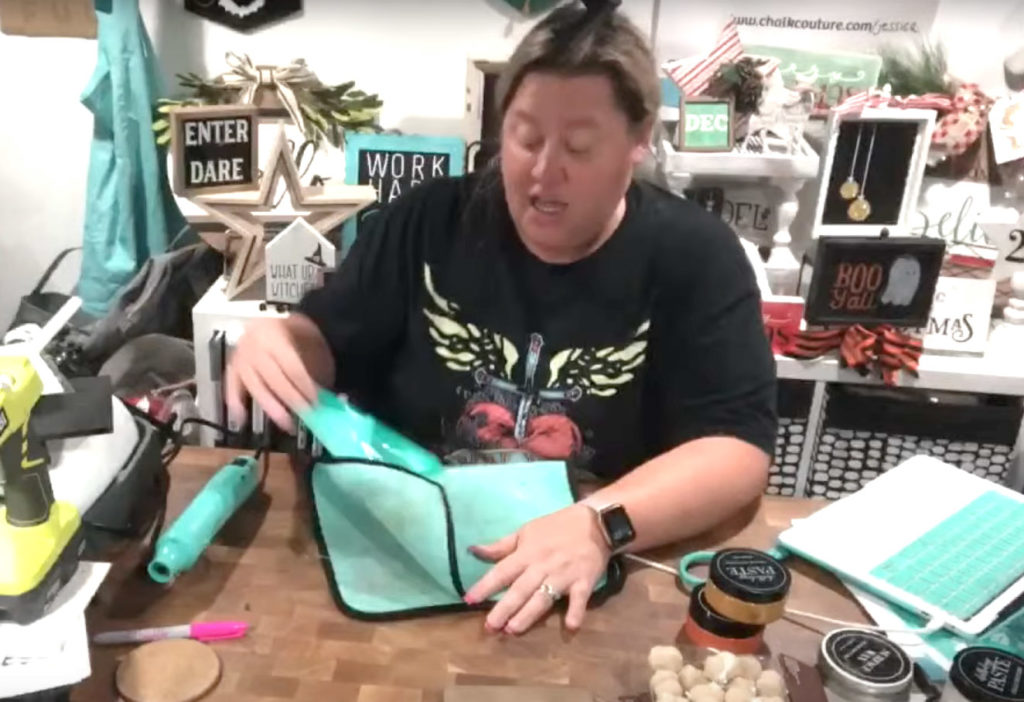
Now, you can apply it to your surface, smooth it out and make sure there are no wrinkles or bubbles and you’re ready to chalk.
Get to Chalkin’
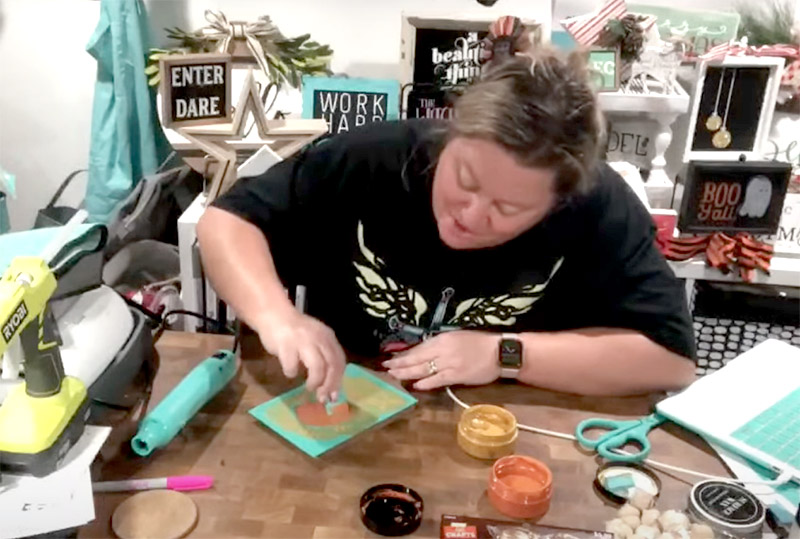
Now we can get to it. Chalking with Chalk Couture products is like spreading butter on toast. I have what’s called a squeegee and I just spread the paste on with it.

Starting above the design, I slide the squeegee down over the screen, pulling the paste over the design. Make sure the design elements for the color you’re using is all covered. Got a lotta extra paste on your squeegee? Just scrape it off your squeegee back into the jar. Repeat this for each color you want to use for different parts of the design.
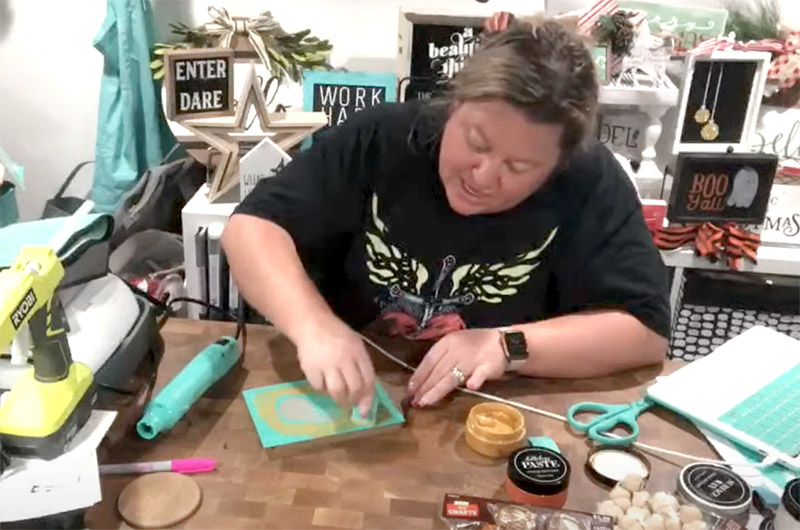
Now, all we have to do is carefully peel the transfer off the surface to reveal the finished design. Easy Peasy.
Now, usually hit the design with the dryer to dry it faster, so my fumbly fingers don’t mess it up. You can stop here or you could take sandpaper and distress the design a little, as well as add any embellishments as you see fit.

I think it turned out great, don’t you? This will look good anywhere in my house, especially my kitchen or dining room.
See it On Video
Check out the video below to see how I made this project, step by step.
Thanks for joining me for this project. Stay safe and Chalk On